This article documents my personal journey with 3D printers, starting from filament printing and moving into resin printing.
Everything written here is based on my own experience and opinion. It may be right or wrong depending on the use case, printer type, material, and workflow. I also treat this article as an evolving note that can be updated after each new print or experiment.
With that said, this is my practical journey into the world of 3D printing.
How Filament 3D Printers Work
Before comparing materials and printer types, it is important to understand the basic working principle of filament printers.
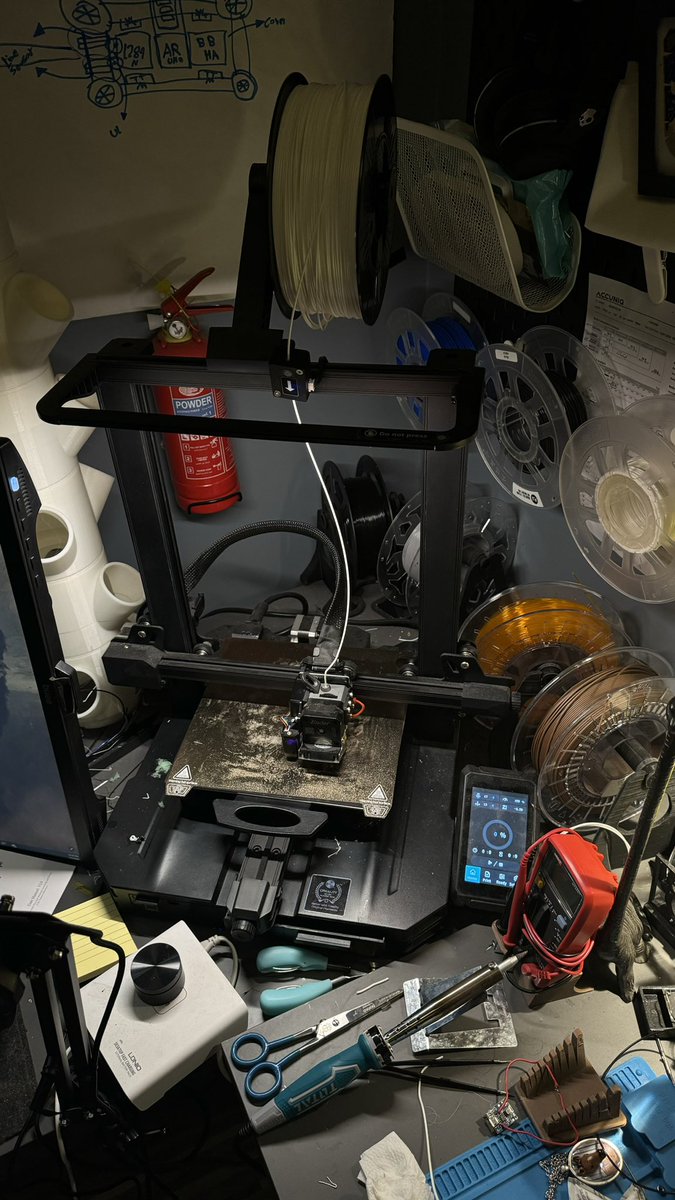
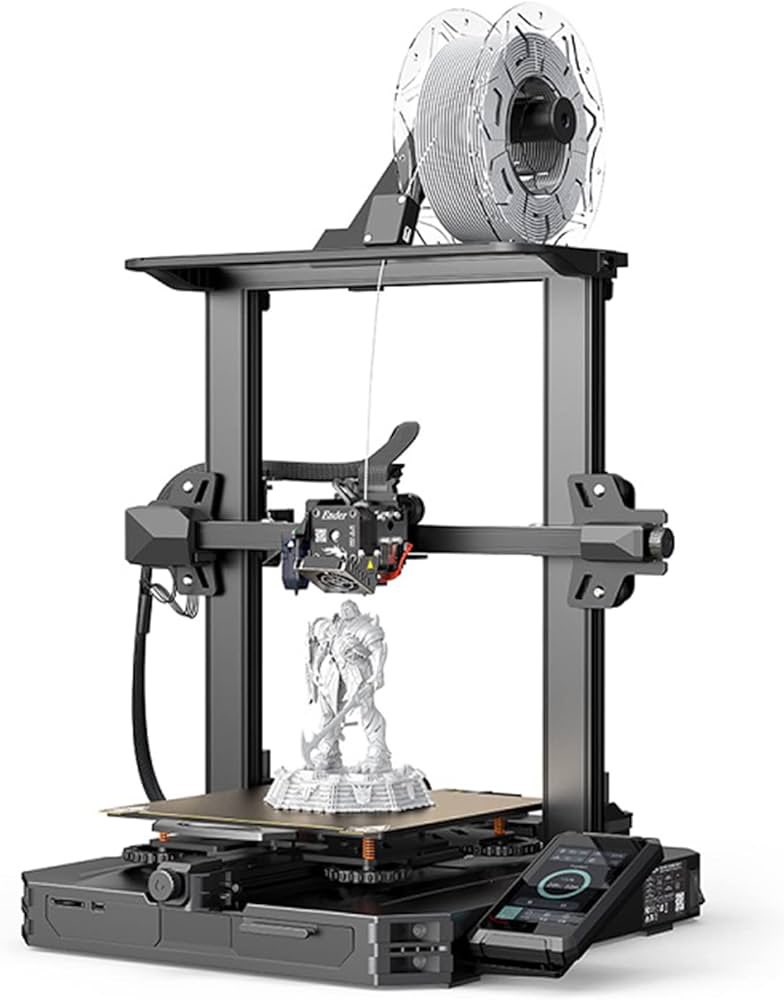
In simple terms, a filament printer heats a plastic filament, pushes it through a nozzle, and deposits it layer by layer on a heated build plate. The printer follows the sliced model instructions until the full shape is formed.
The model itself can be designed manually or downloaded from 3D model platforms, then prepared using slicing software before printing.
Common Filament Materials I Tried
There are many types of filament materials available, but I will focus here on the ones I personally used.
PLA
PLA is one of the most common and beginner-friendly filament materials. It is easy to use and does not require very high printing temperatures.
Based on my experience, PLA typically works around 200°C for the nozzle and around 60°C for the heated bed. Its price is usually reasonable, around 90 to 120 SAR depending on the brand.
PLA is commonly used for decorative prints, prototypes, simple parts, and general learning.
ABS
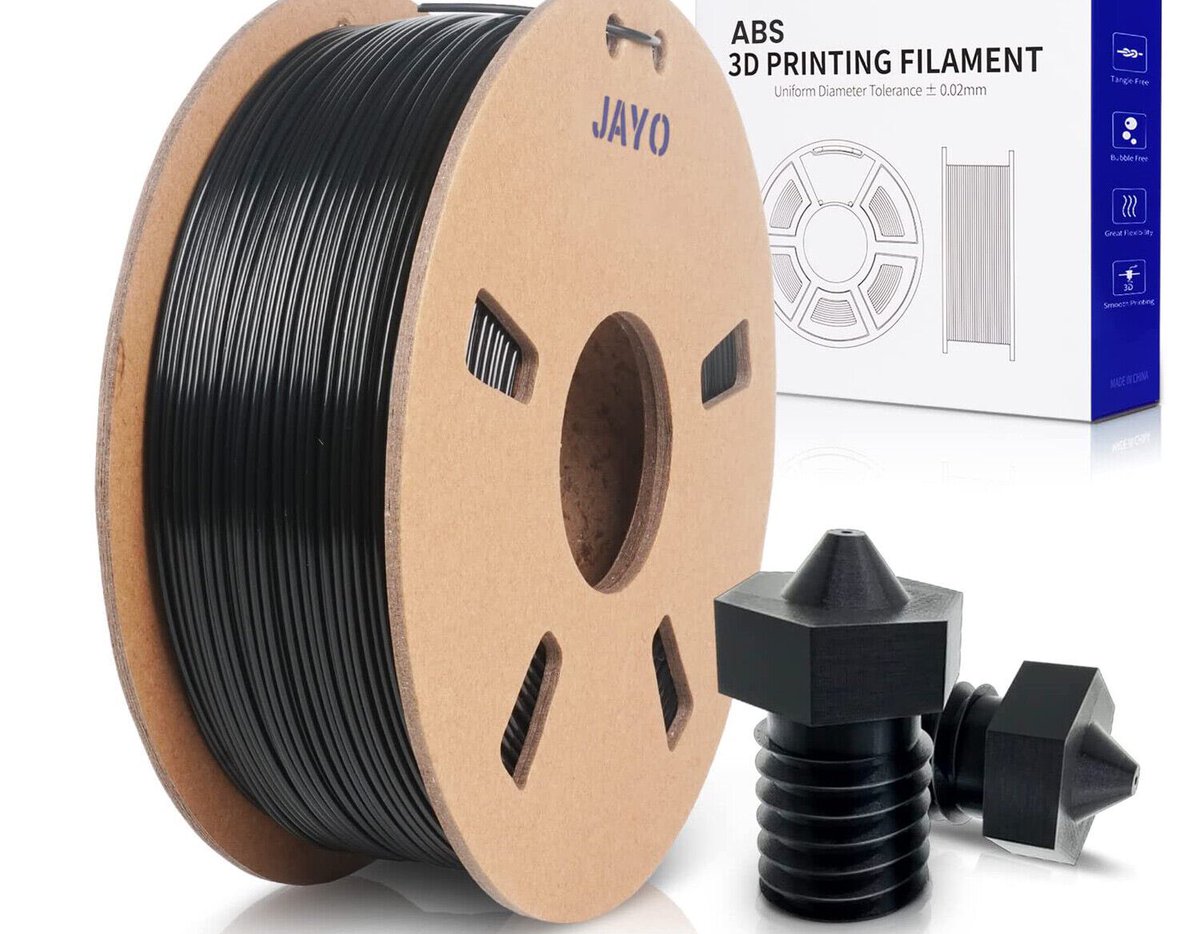
ABS is one of my preferred materials for mechanical and more complex parts that need better strength and heat resistance.
It can be useful for internal parts, robot arms, and functional components that need more durability than simple decorative prints.
In my local experience, ABS usually costs around 160 to 180 SAR. It also requires higher temperatures, usually around 220°C to 240°C for the nozzle and around 110°C to 120°C for the heated bed.
Slicing Software
The slicer is the software that prepares a 3D model for printing. It converts the 3D design into toolpath instructions that the printer can understand.
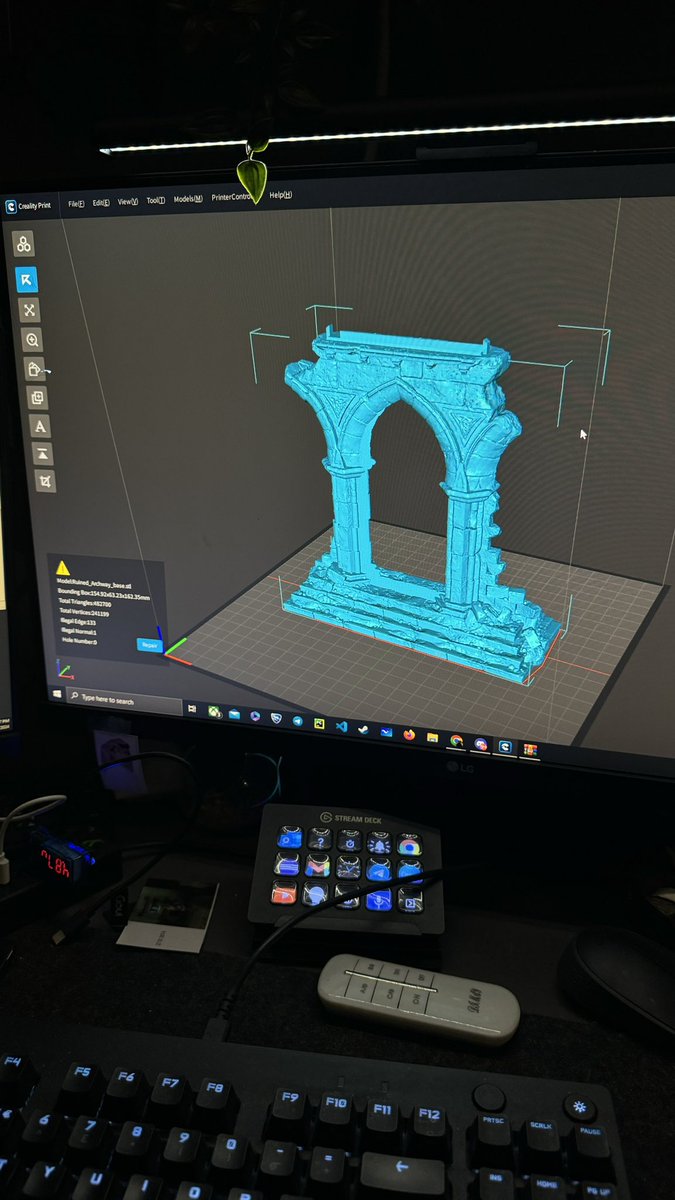
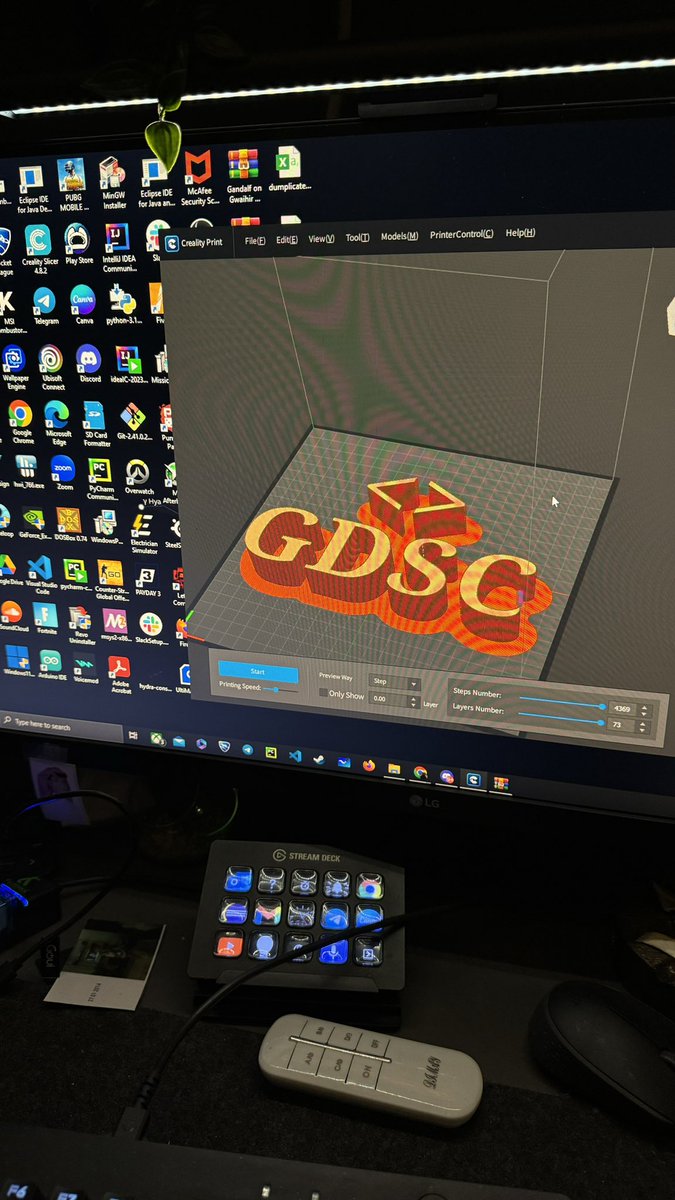
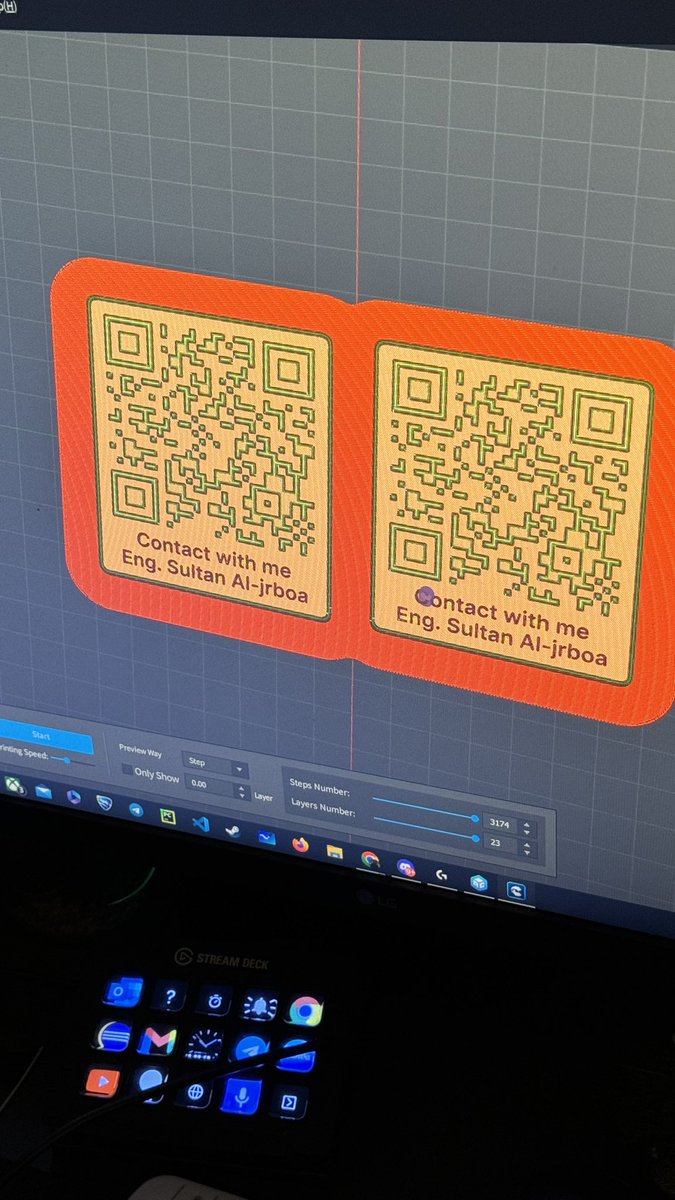
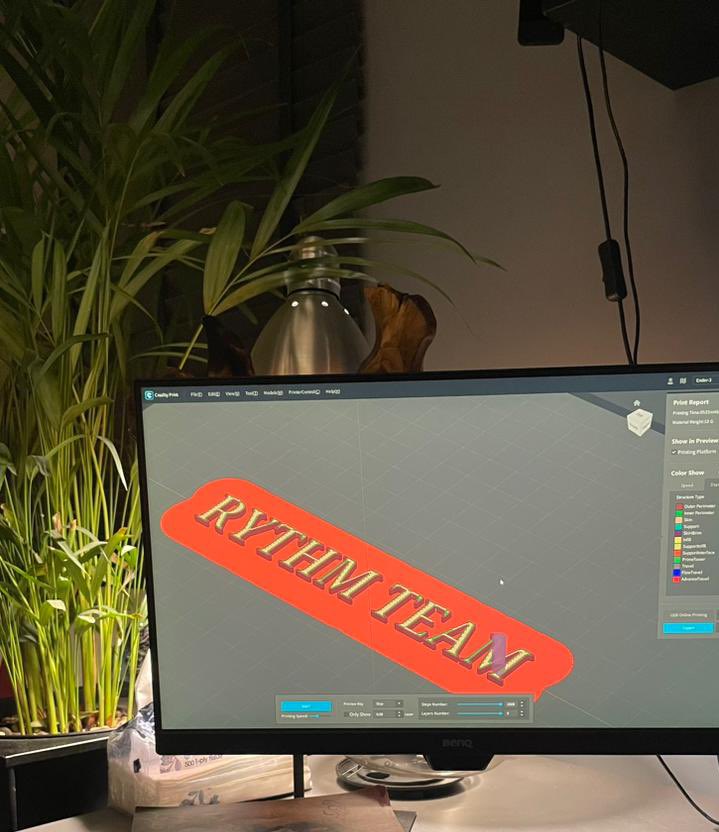
The first slicer I used, and still use, is Creality Print. It has been suitable for my workflow so far.
A slicer controls many important settings, including layer height, infill, print speed, temperature, supports, and build plate adhesion. It is the bridge between the 3D model and the physical print.
My Summary of Filament Printing
Filament printers are enjoyable, practical, and relatively affordable. They are also easier to use compared to resin printers, especially for beginners.
They do not usually produce strong chemical odors, spare parts are widely available, and materials are easy to find. The main downside is that they can be slower, and the final surface quality may not match resin printing for very fine details.
My experience is mainly based on printing mechanical parts and project prototypes. This may not match everyone’s needs, but it has been a practical and useful path for my projects.
Moving Into Resin Printing
The second major printing technology I explored is resin printing.
Resin printers work very differently from filament printers. Instead of melting plastic filament, they use a liquid photopolymer resin that hardens when exposed to UV light. The printer cures each cross-section of the model layer by layer until the full object is formed.
I am still learning resin printing, so this section is based on early experiments and lessons from my first prints.
The resin printer I started with is the Anycubic Photon Mono M5s. I also bought an Elegoo Mercury Plus wash and cure station to handle post-processing.
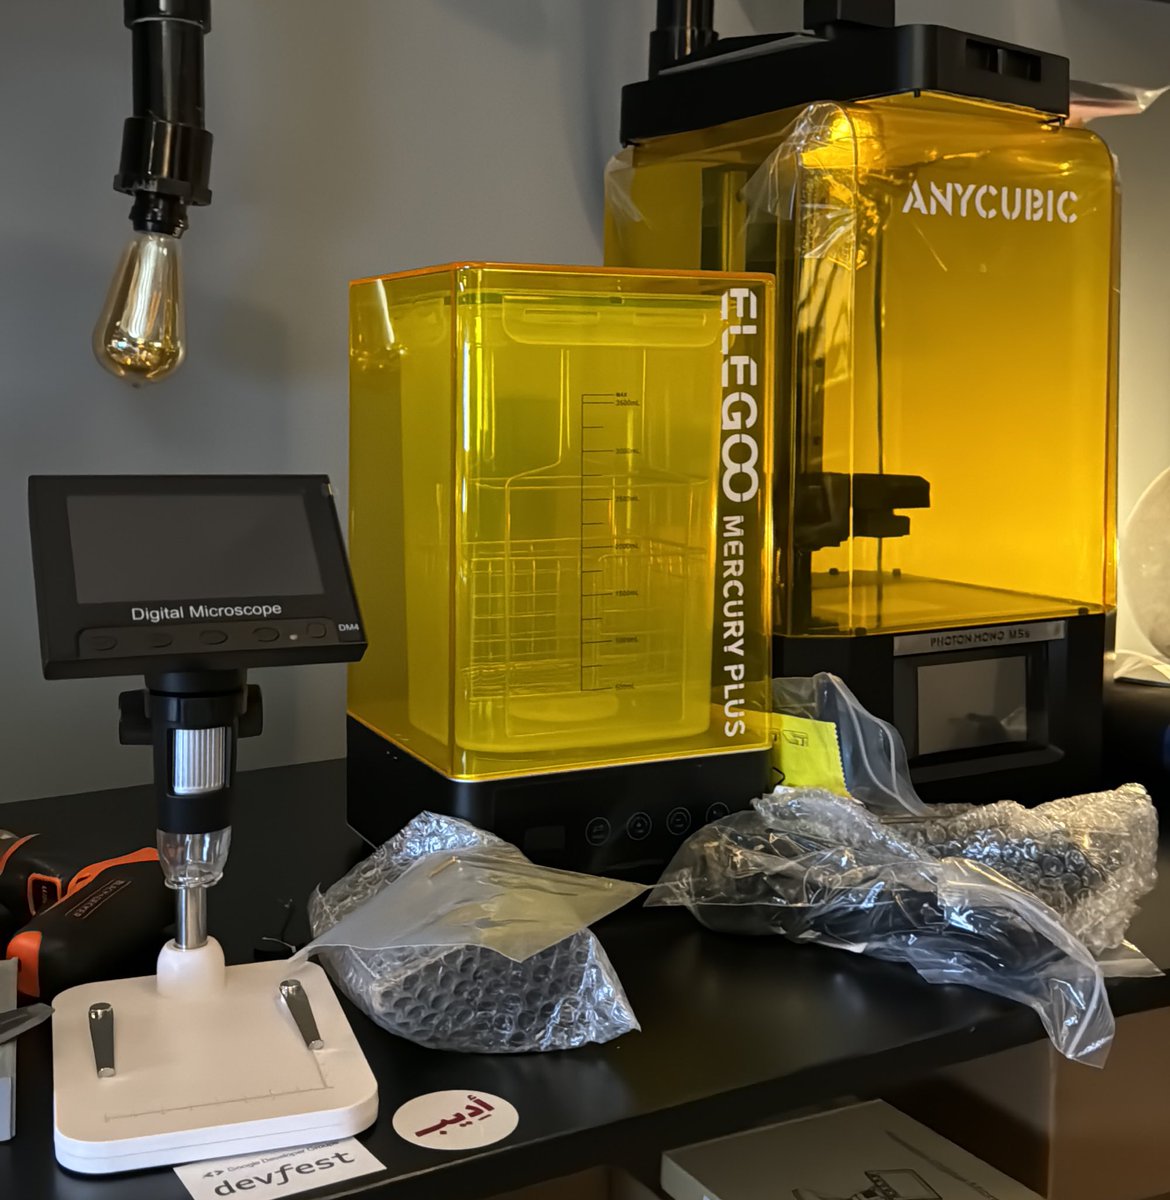
Anycubic Photon Mono M5s
The Photon Mono M5s is a mid-range resin printer with high print quality. It supports high-resolution printing and has a 10.1-inch display.
The main issue I noticed is ventilation. Resin smell can be very strong during printing and even after the print is finished, especially when opening the printer cover.
Resin Types I Tried
Before showing the print results, it is important to talk about two resin types I used during my first month with resin printing.
High-Speed Resin
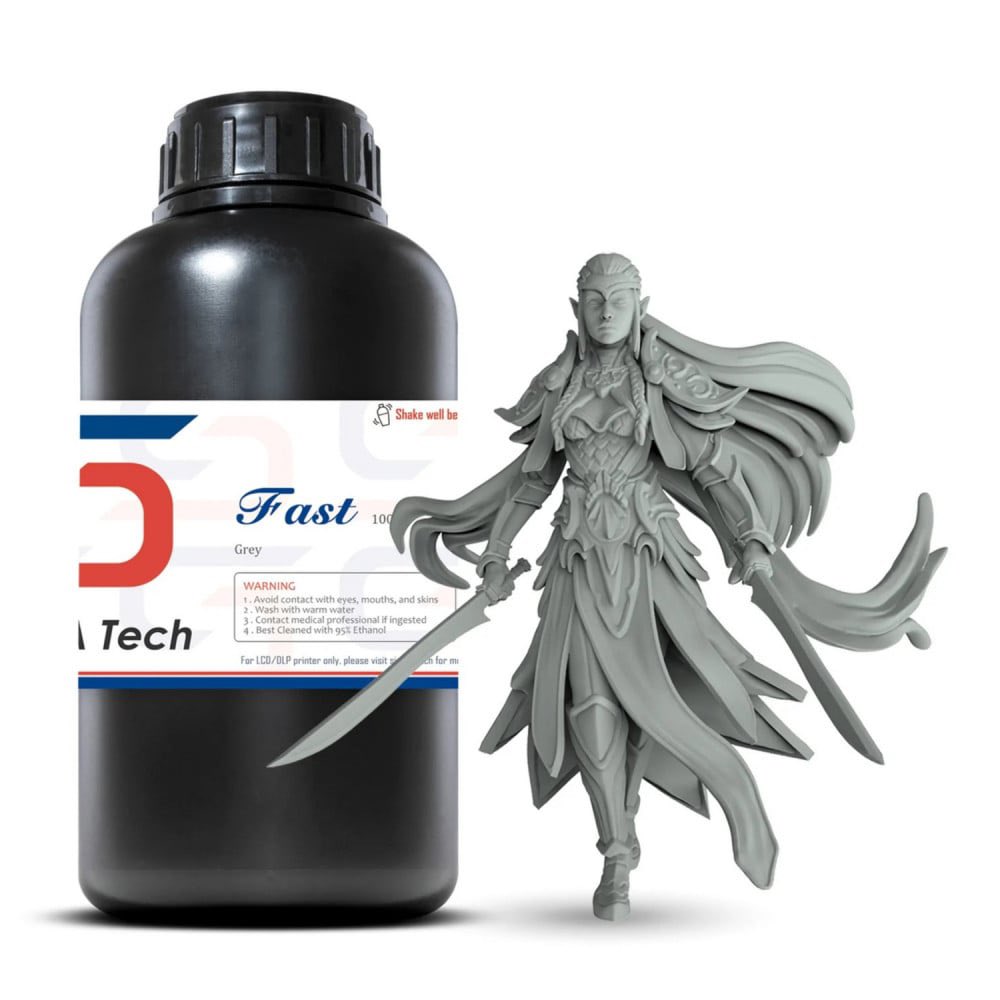
High-speed resin has a lighter, more liquid consistency. This helps reduce printing time significantly. A model that may take around 12 hours with standard resin could take around 4 hours with this type, depending on the model and settings.
From my experience, its price is usually around 260 to 300 SAR per kilogram.
Standard Resin
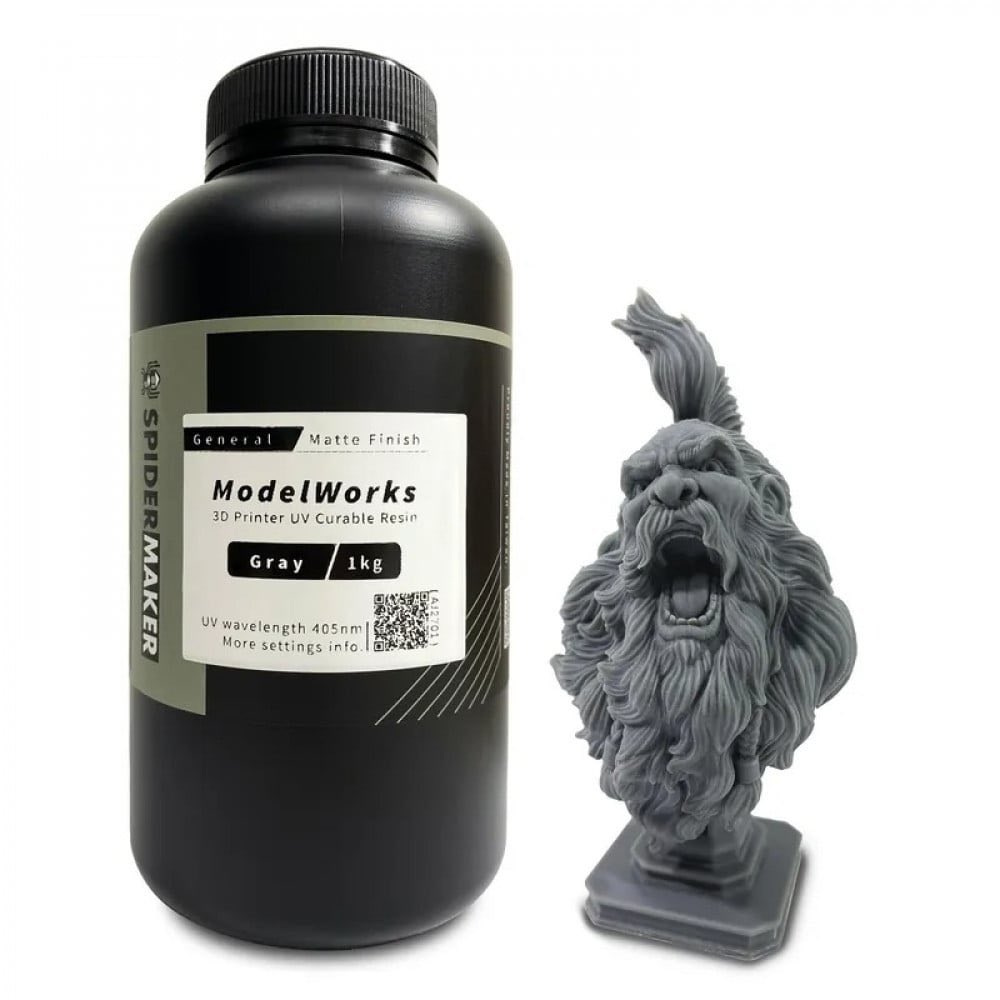
Standard resin is thicker and more gel-like. It usually takes longer to print, and in some cases the print duration can feel closer to filament printing.
However, it clearly performs better when it comes to fine details, surface quality, and sharp features. The downside is the strong smell and the need for careful handling.
Its price is usually around 160 to 180 SAR per kilogram.
First Resin Print: Speed and Detail
My first resin print used high-speed resin to test the printer’s performance. The test model was ready from the printer, and the print took only around 30 minutes.
The result was impressive, especially in the amount of detail the printer produced in a short time.
Testing Height and Fine Details
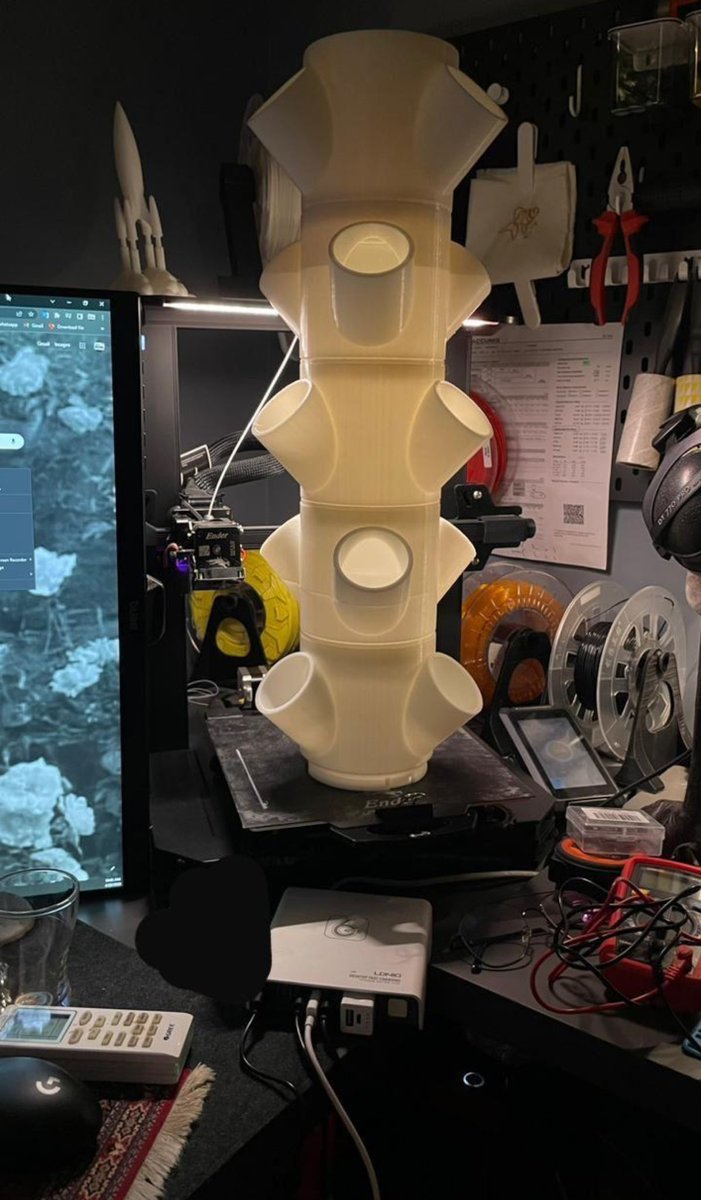
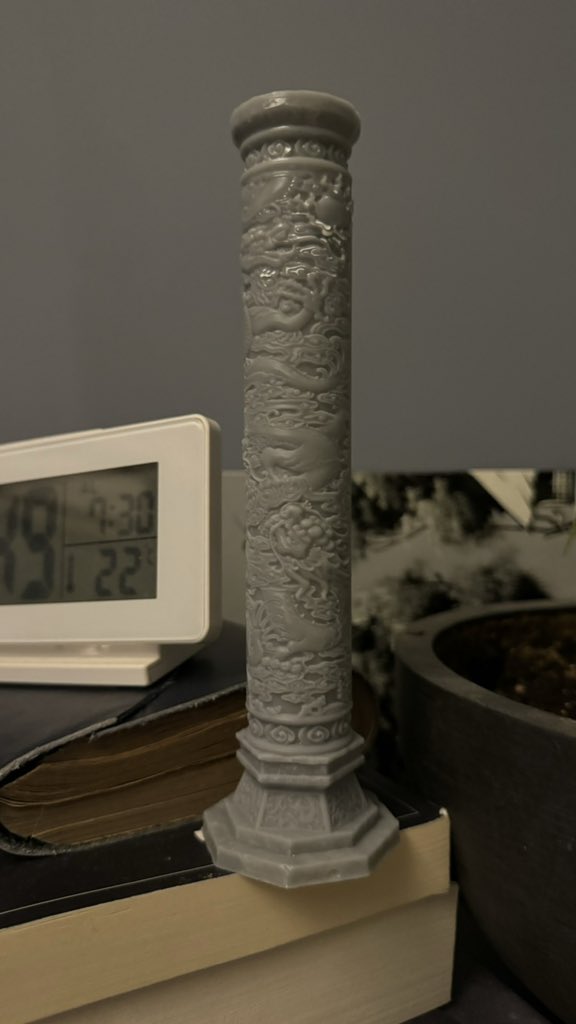
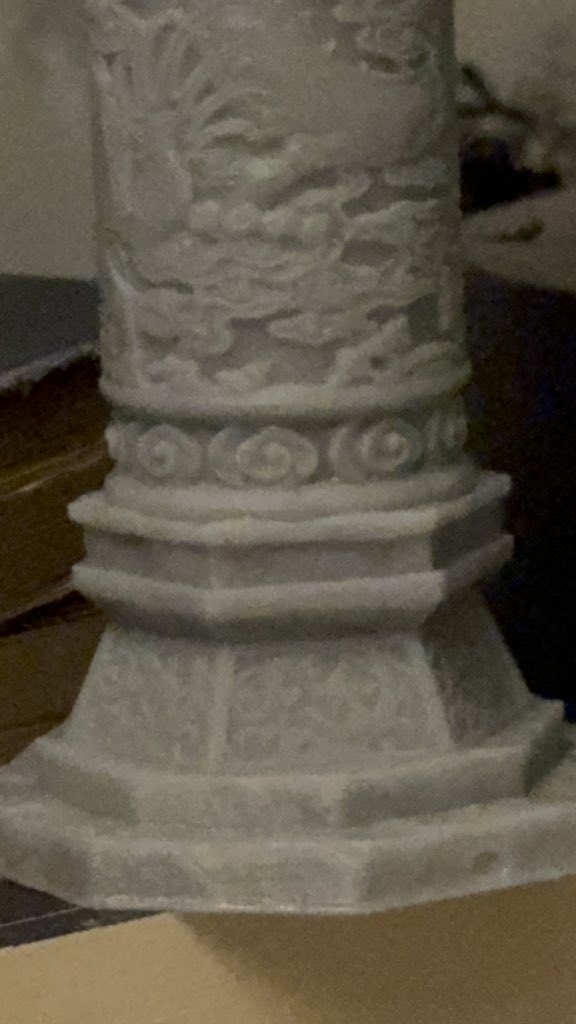
For the second test, I printed a tower model using high-speed resin to evaluate the printer’s performance with taller prints.
The result surprised me. The amount of detail and the overall clean finish were much better than what I was used to seeing from filament printing.
A More Challenging Model
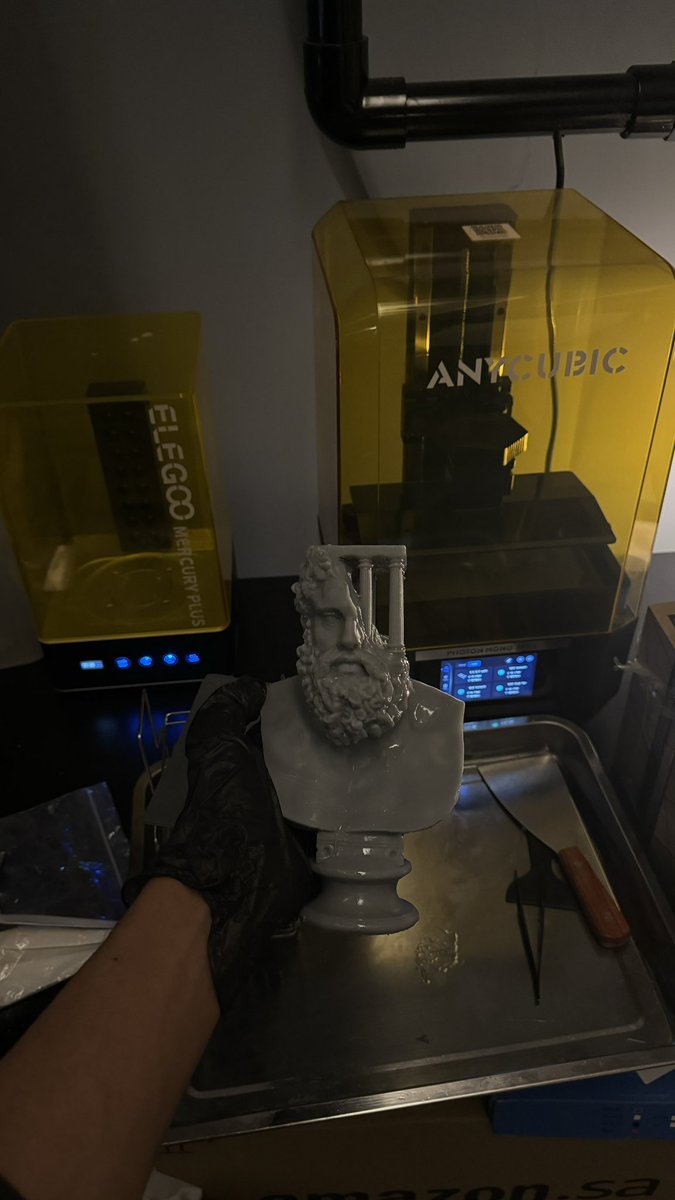
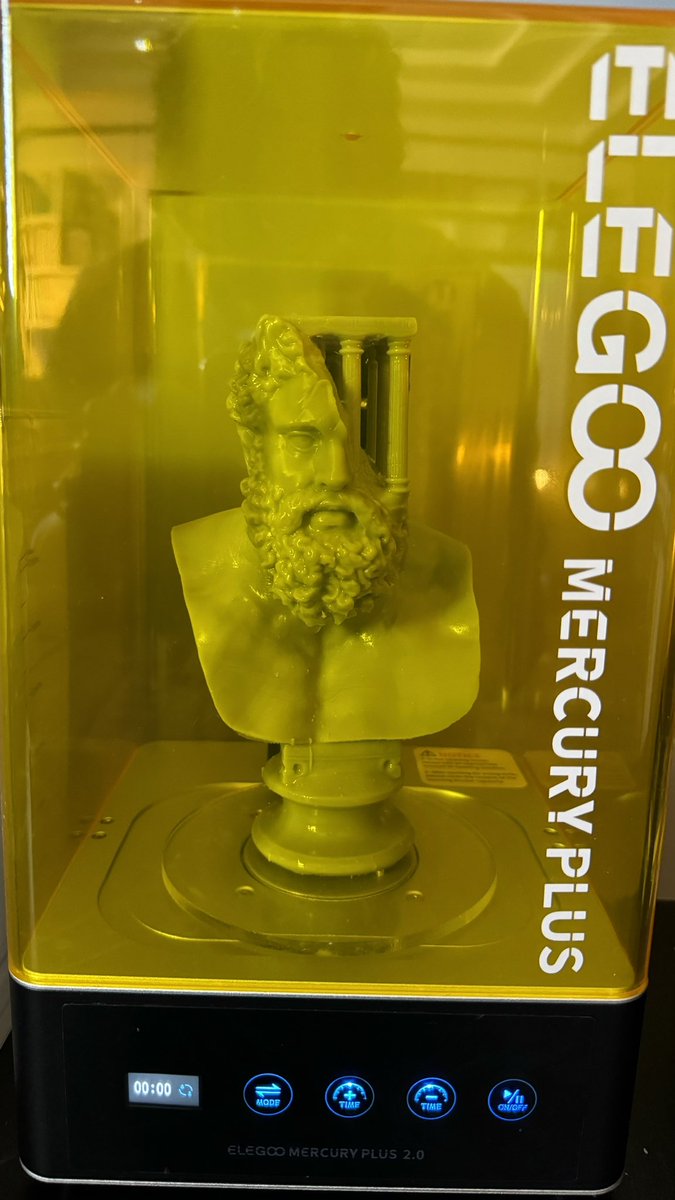
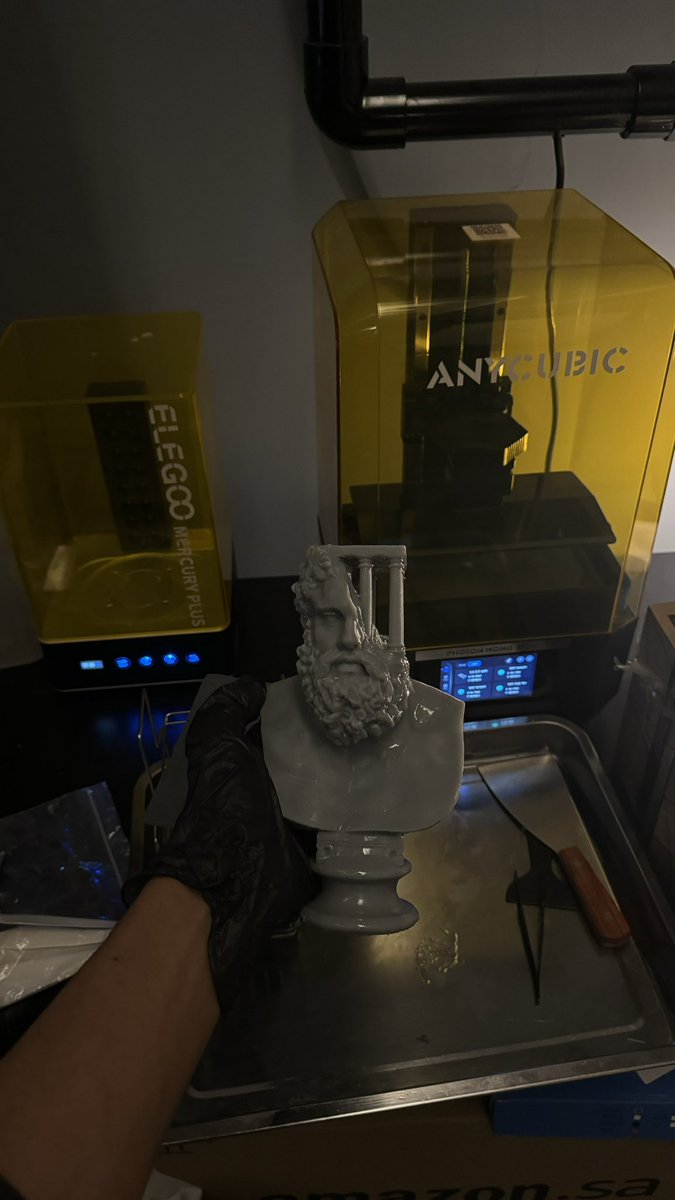
After the initial tests, I selected a model with a more interesting challenge: a Plato head design mixed with tower-like structures.
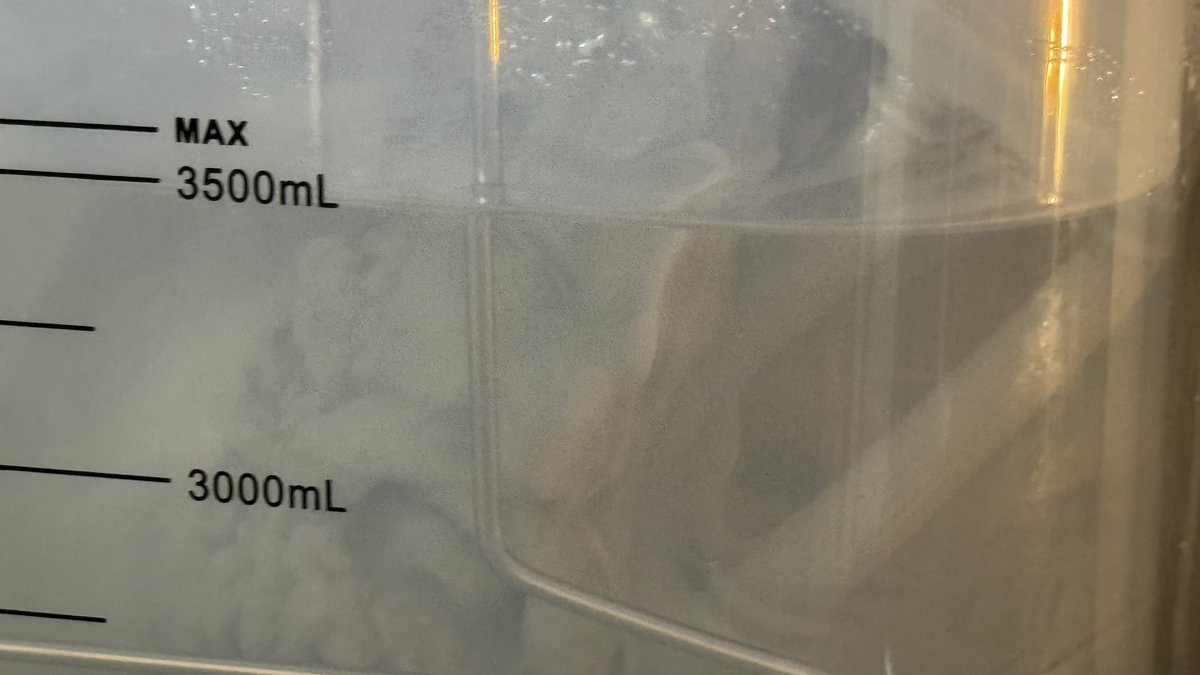
The printer handled the model very well. I used high-speed resin, and the model consumed around 600 ml of resin, which is approximately 180 SAR based on the resin cost.
Printing an Einstein Model
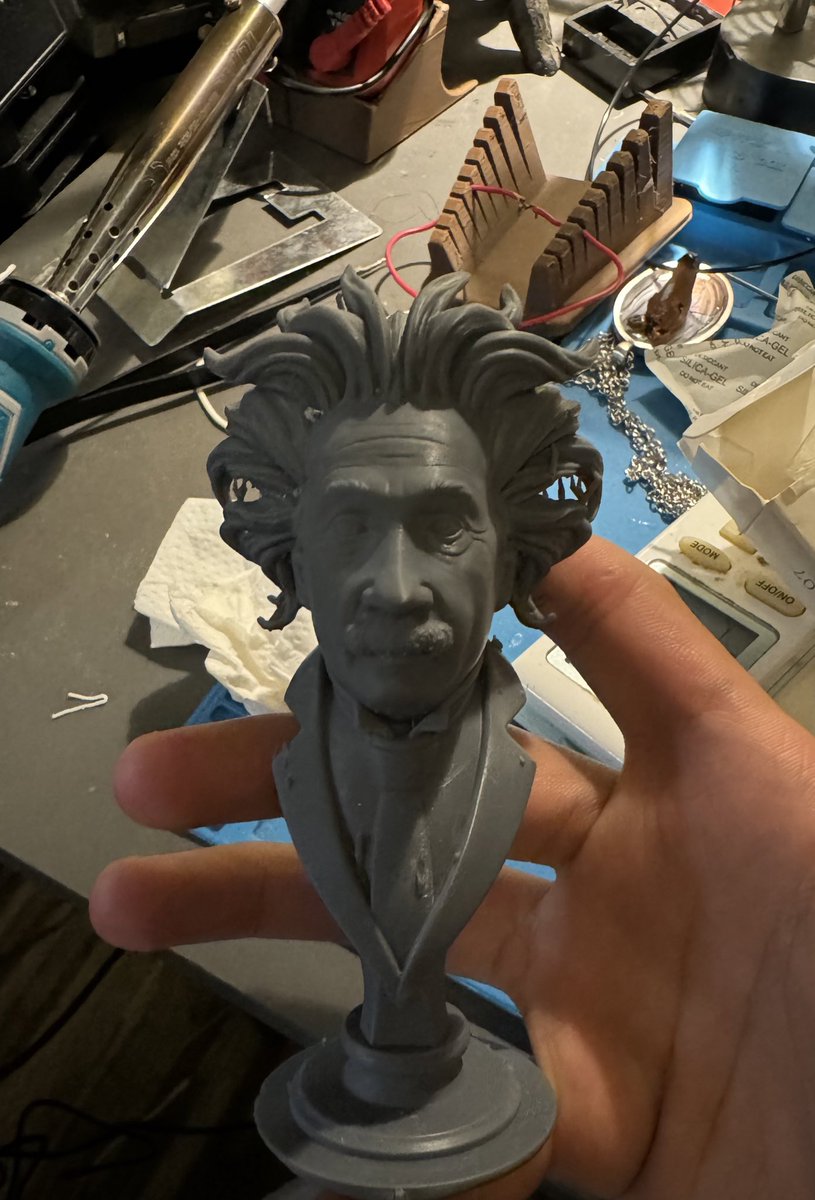
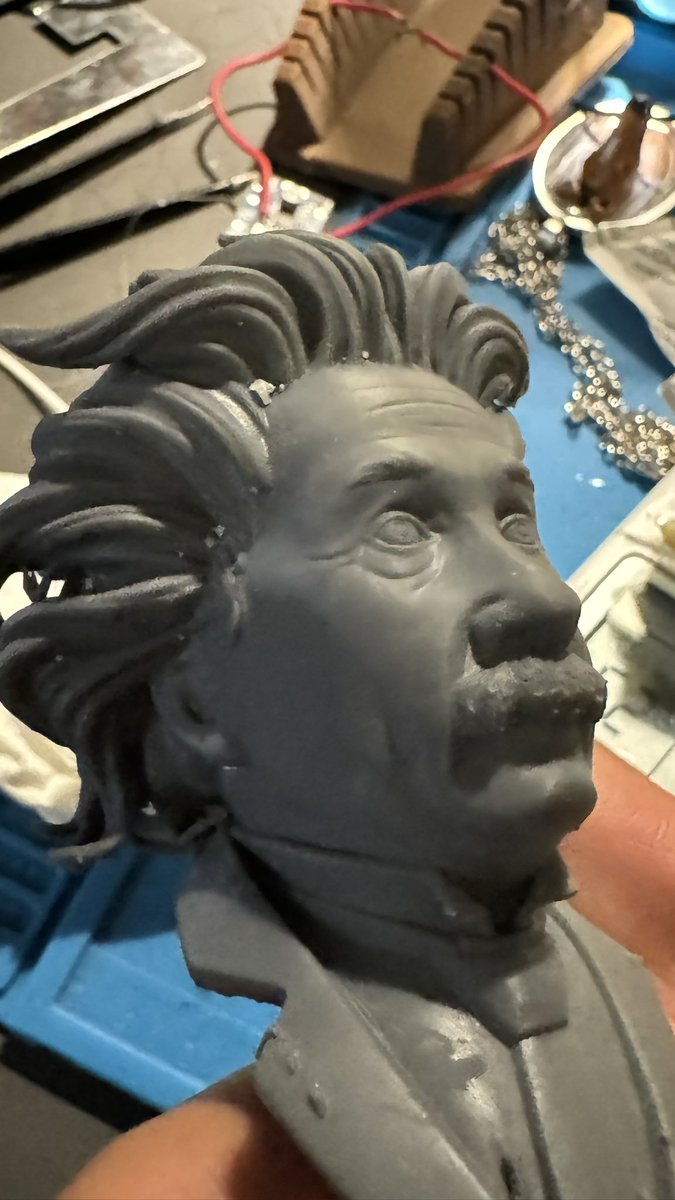
For the final detailed test in this section, I printed an Einstein model using standard resin.
The result was impressive, especially in the hair, facial wrinkles, eyes, forehead details, and overall surface texture. This is where resin printing clearly shows its strength: fine detail and high visual quality.
Washing and Curing Resin Prints
Post-processing is one of the biggest differences between filament and resin printing.
After printing with resin, the model needs to be washed to remove uncured resin from the surface, then cured under UV light to complete the hardening process.
If you can afford a wash and cure station, I recommend it. If not, manual cleaning with alcohol can still work for many small prints, but it takes more effort and care.
I bought a washing and curing station because I print frequently and wanted a faster, cleaner workflow.
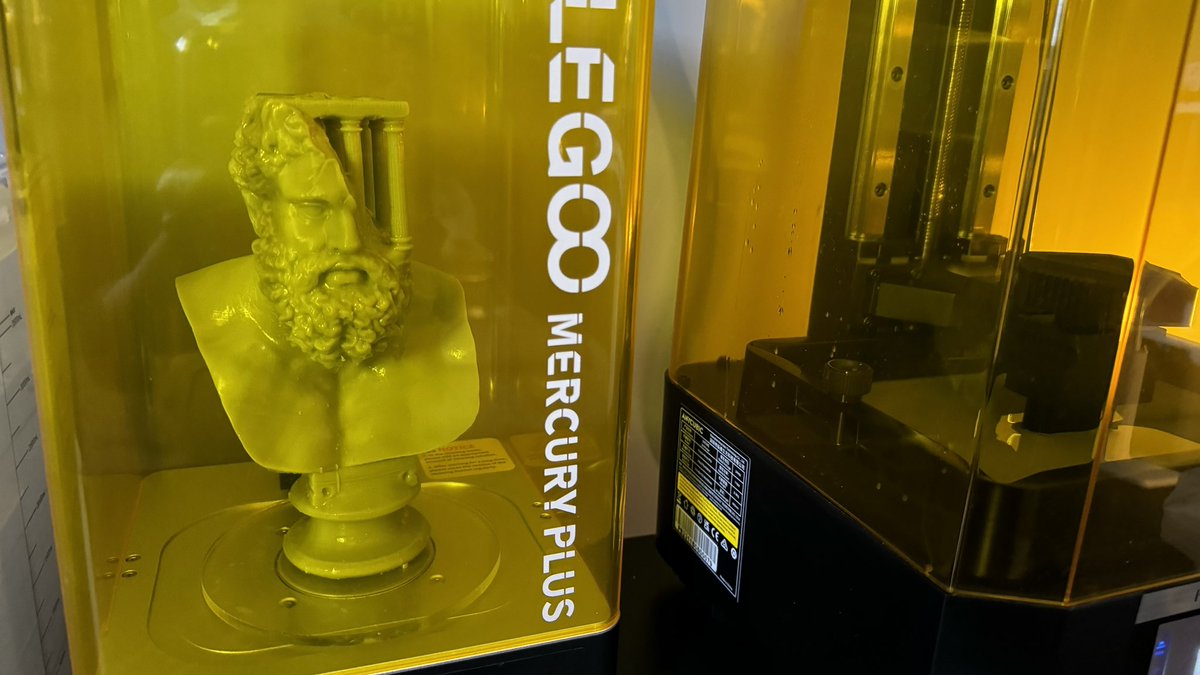
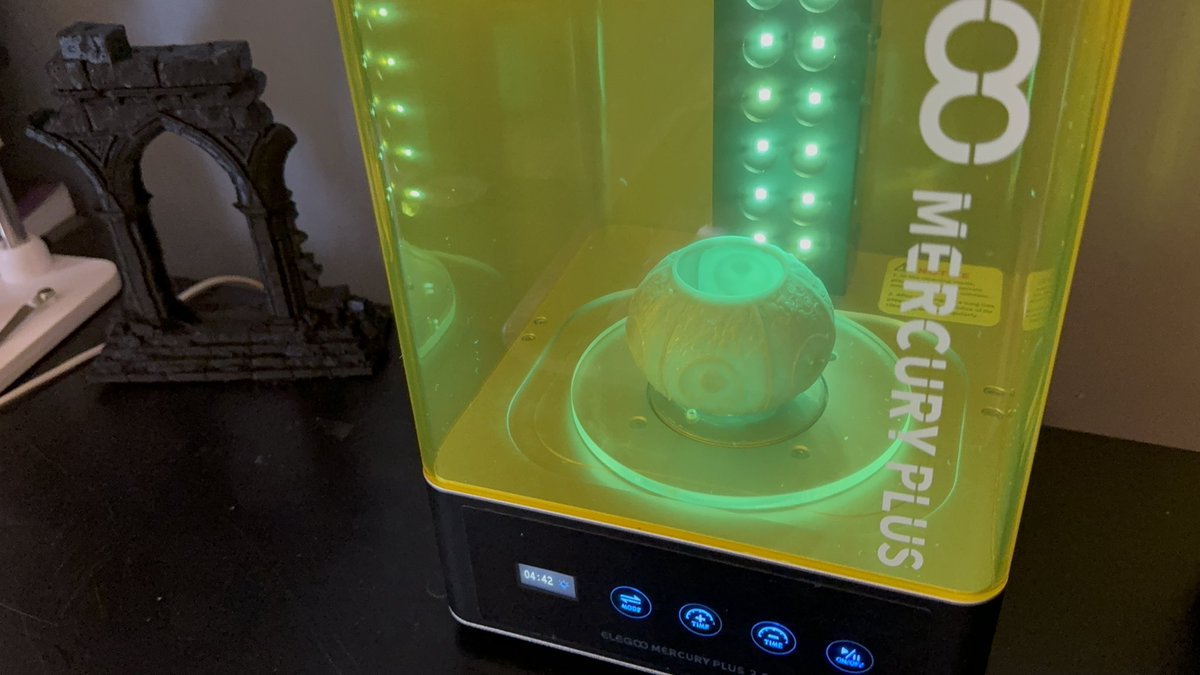
The washing station cleans the remaining resin using alcohol, then the curing process uses UV light while rotating the model to cure it more evenly.
Safety First
One of the most important points in this entire experience is safety, especially when working with resin printers.
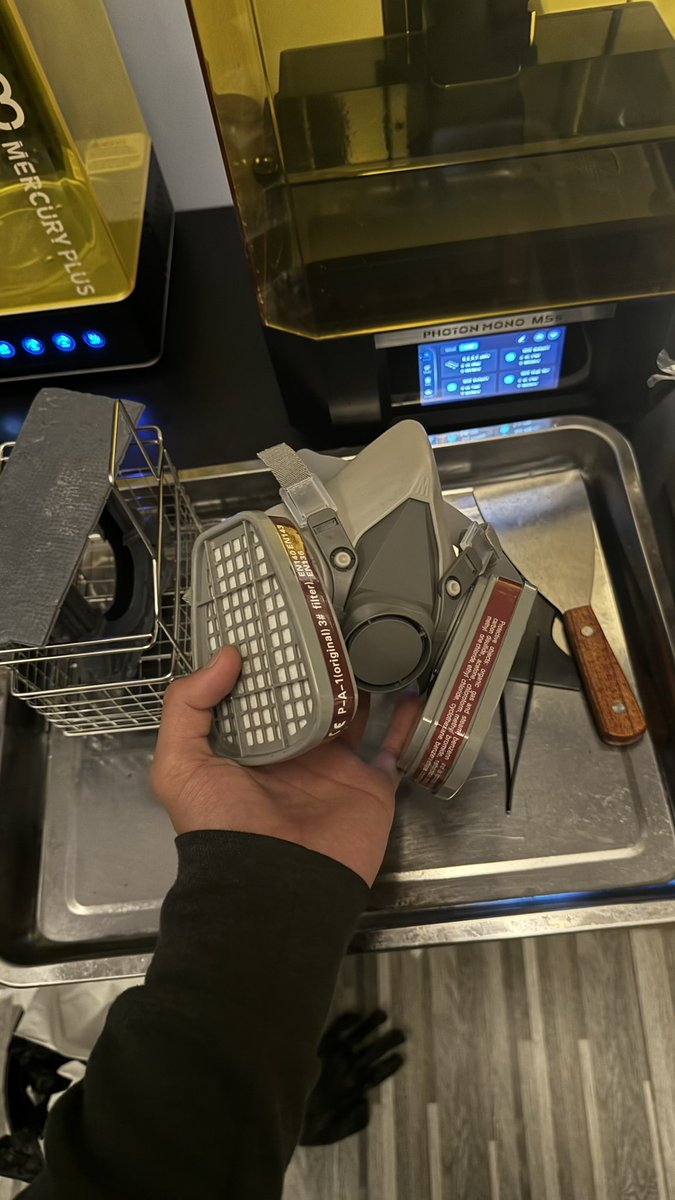
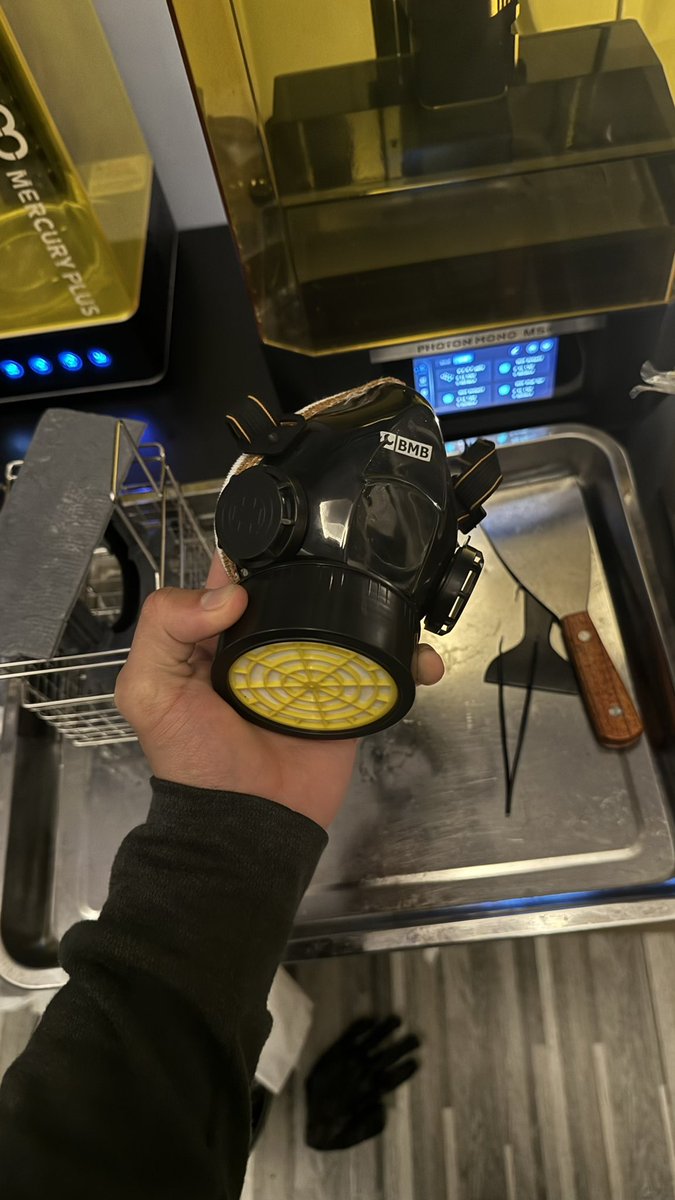
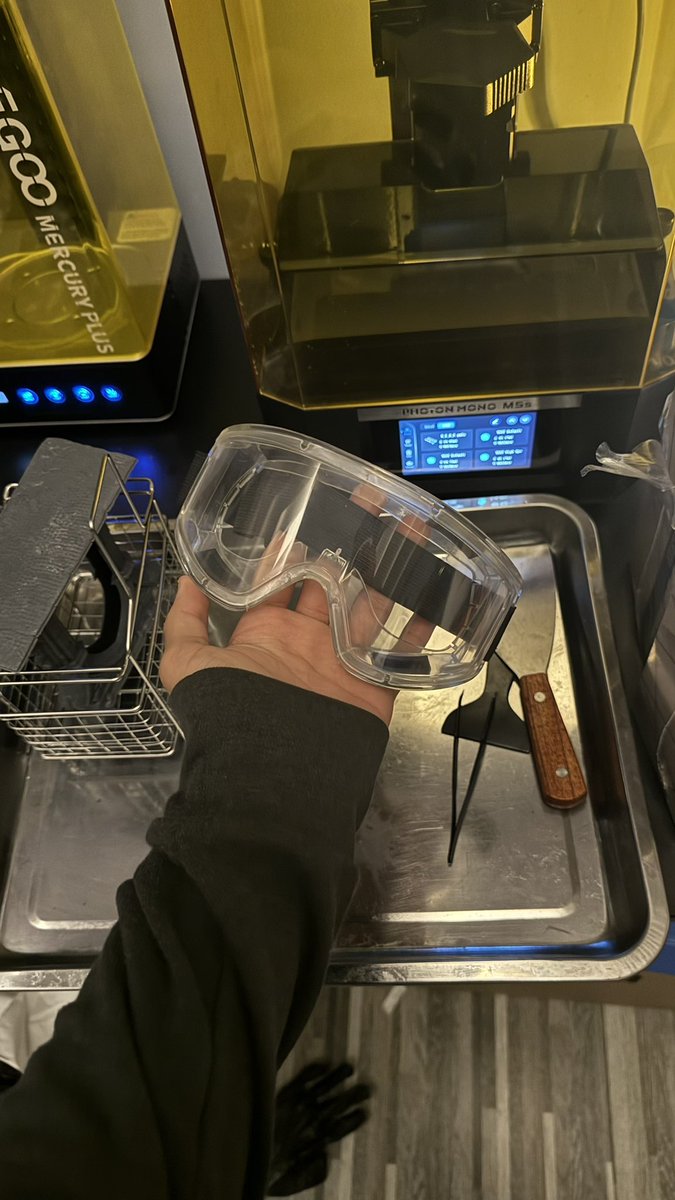
I do not print resin inside my bedroom. I use a dedicated workspace with good ventilation and exhaust fans. I also use protective gloves and a gas mask when handling resin.
Resin printing can produce strong fumes, and uncured resin should be treated carefully. Good ventilation, gloves, masks, and proper cleaning are not optional details; they are part of the workflow.

Troubleshooting: Filament Jam in the Nozzle
A few hours after writing the original thread, I faced an issue with the filament printer head. The nozzle stopped accepting filament properly. The filament would not feed in, and it felt stuck.
At first, I thought the issue might be inside the extruder gears. After opening the print head, the gears looked fine. Then I removed the nozzle and found hardened filament stuck inside.
The videos below show the troubleshooting process and how I cleared the blockage.
A Small 3D Printed Business Card Idea
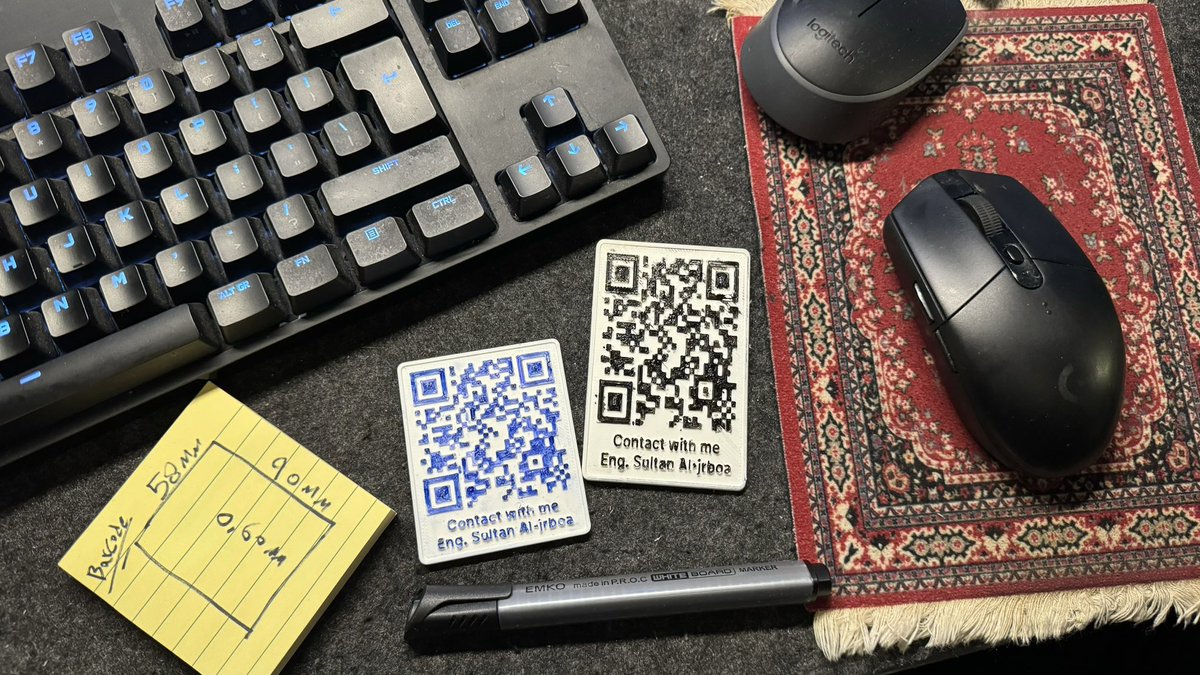
Before LEAP, I wanted to create a simple business card that could help me connect with companies and people during the event.
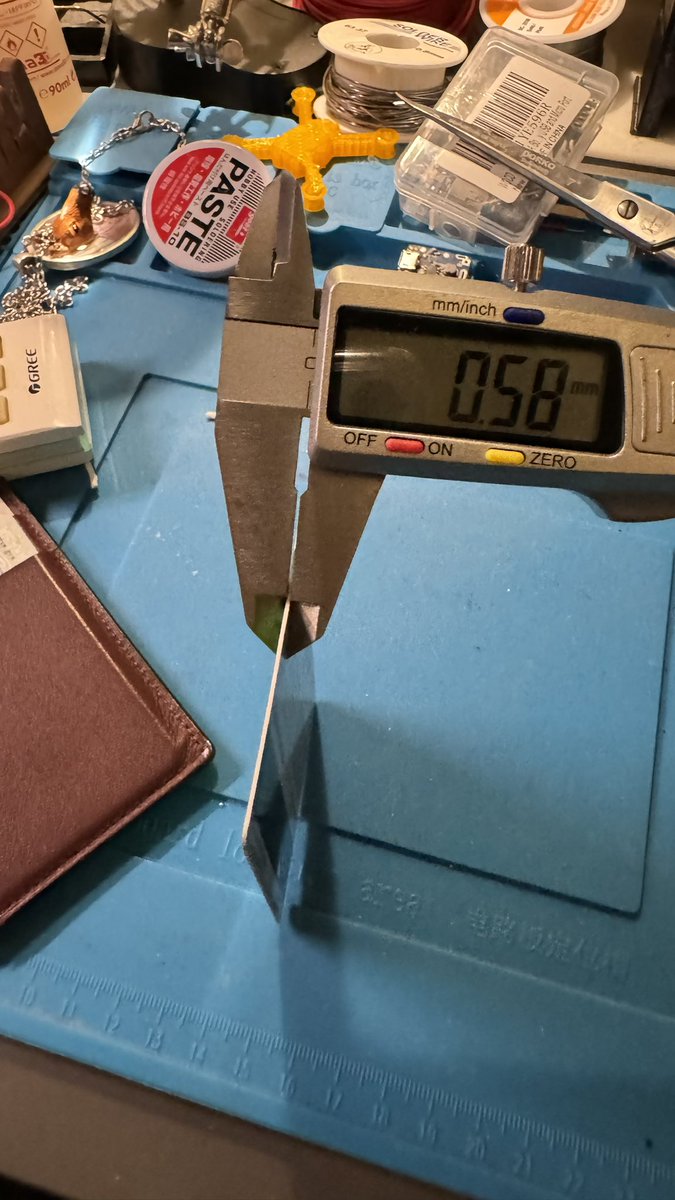
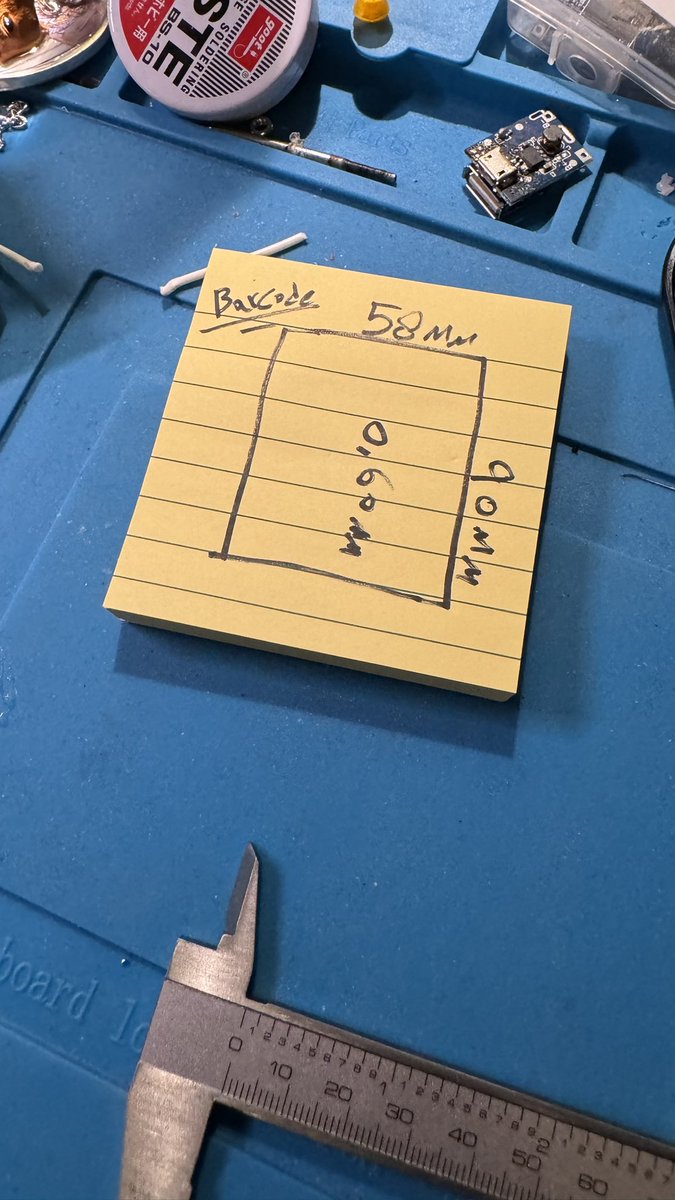
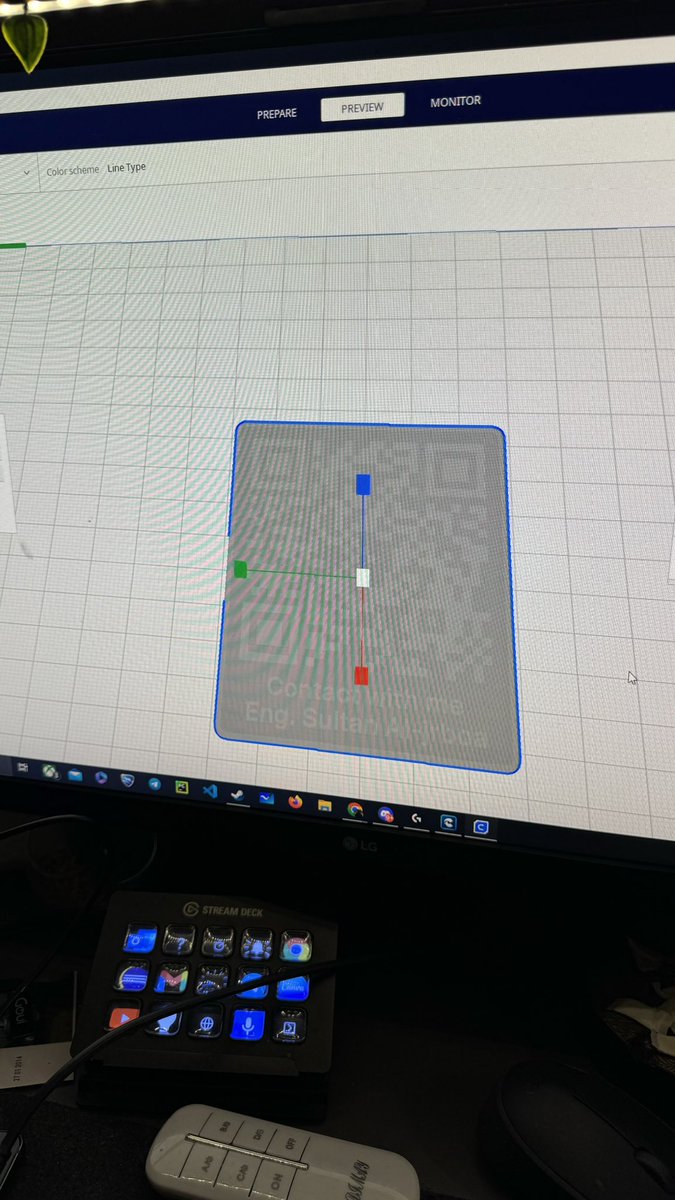
The idea was to design a physical 3D printed card with a QR code that links to all my social media and contact links in one place.
It is a simple idea, but it combines digital fabrication with practical networking.
GDSC Medal Print
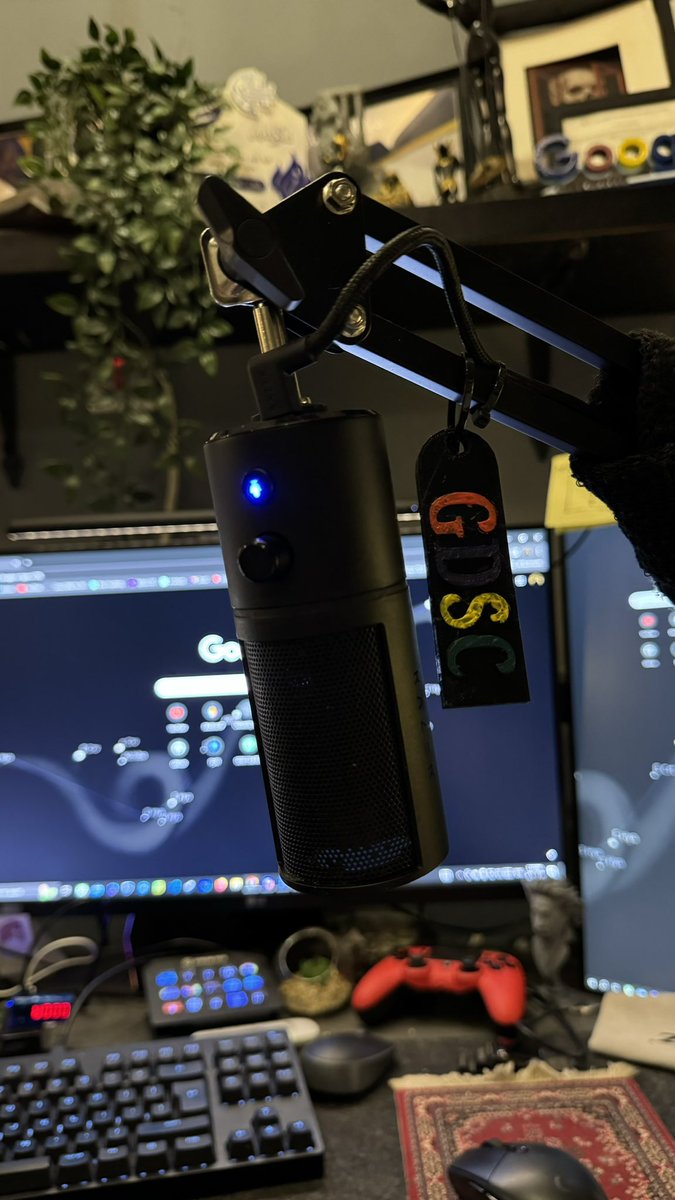
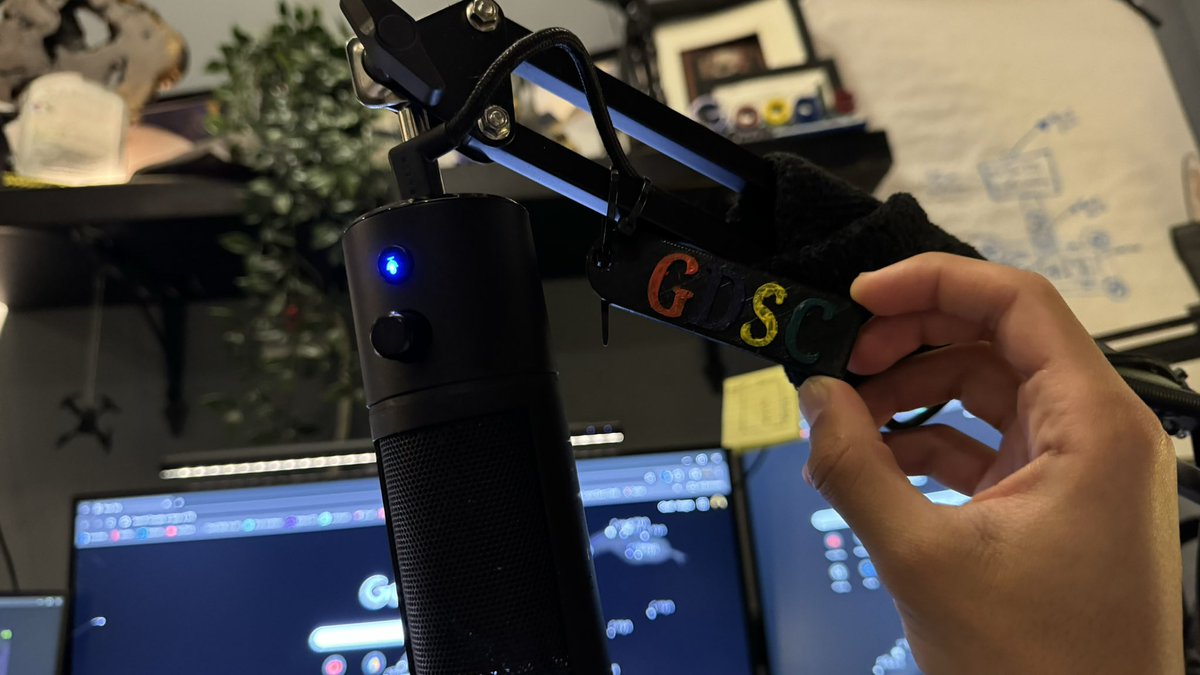
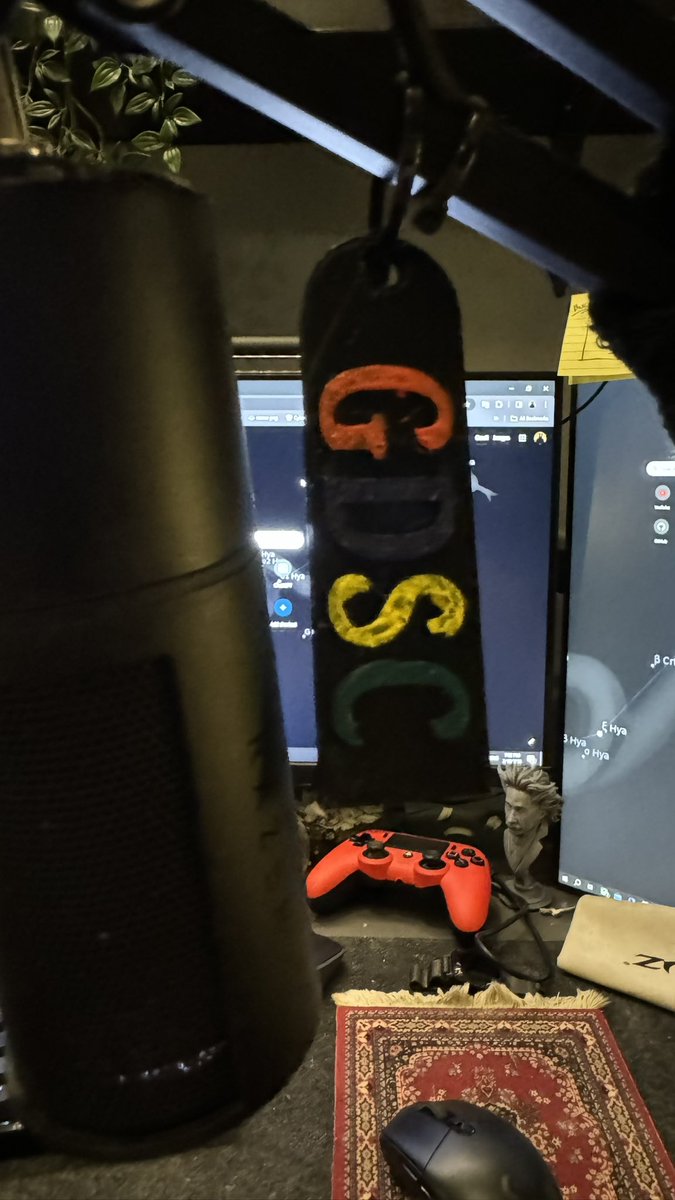
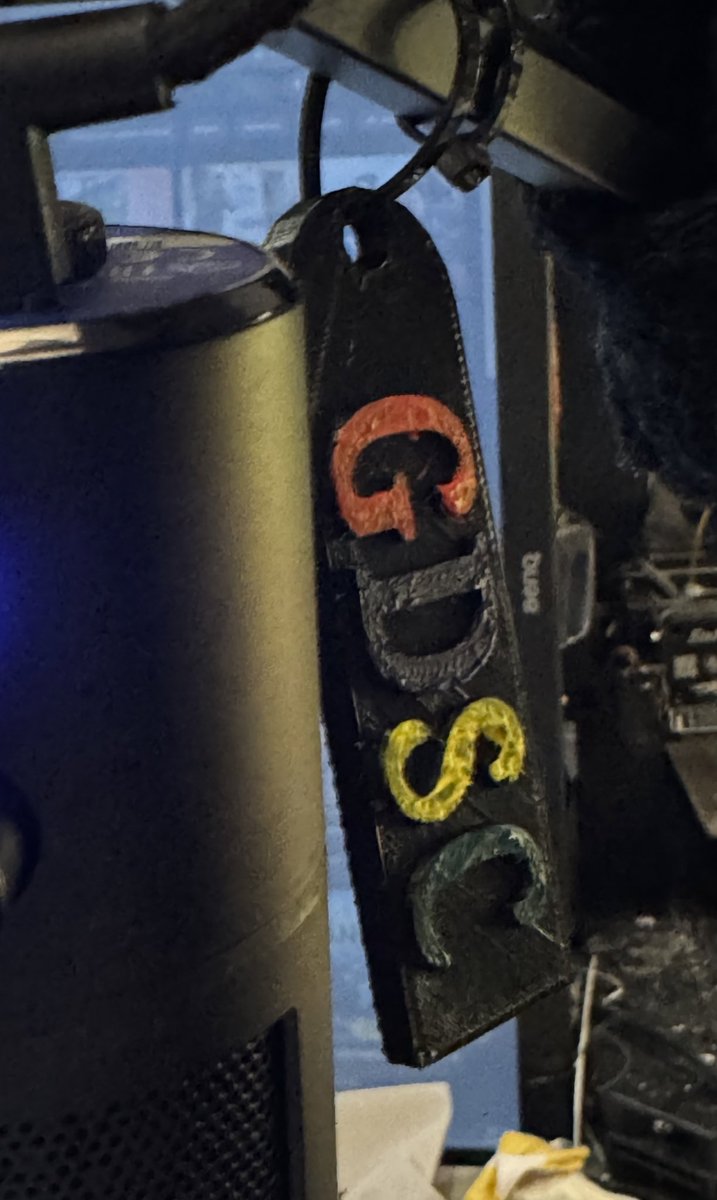
One of the later prints I worked on was a GDSC-themed medal. I mounted it on a microphone stand as a small creative piece.
The painting result was not perfect, but the concept and execution were successful. This kind of small project is useful because it combines modeling, printing, finishing, and presentation.
Handling Resin After Printing
One practical workflow I also wanted to document is how to return unused resin back into the bottle properly.
Unfortunately, while I was recording a detailed explanation, the camera stopped after the first minute and a half. I still consider this topic important and worth documenting again later because resin handling is a critical part of safe and clean printing.
Final Thoughts
Filament printing is practical, affordable, and suitable for many mechanical and prototype projects. Resin printing, on the other hand, provides much higher detail and surface quality, but it requires more attention to safety, cleaning, ventilation, and post-processing.
For me, both technologies are useful. Filament printing is excellent for functional project parts, while resin printing is impressive for detailed models and visual quality.
This article is based on my current experience and will continue to grow as I test new prints, materials, tools, and workflows.